
Procurement guide - task map - coverage - interface - evidence scope
Task-Based Buyer Manual for Waterproof Aprons and Work Capes
Published by EverBen
Start at the splash source and protected body zone, then align garment form, test scope, wearer interfaces, care practice and supplier response.
Prepared for purchasing, product, workplace and distribution teams that need clear responsibility and evidence boundaries before sample approval.
- Task and body-zone map precedes product selection
- Evidence is read by specimen and exposure mode
- Quotes are normalized around one coverage object
Partial-coverage procurement method
Move from Waterproof Apron Language to a Task-Based Buying File
This guide helps buyers compare coverage forms, interpret material and garment evidence, challenge interface gaps and preserve the accepted product through bulk and replenishment.
Read evidence by specimen and exposure mode.
Material penetration, permeation, finished spray, ergonomics and care results are different evidence lanes and should not be merged into one universal claim.
How to use the guide
Start with the unresolved task or interface, record the required decision output and transfer it into the paired Product RFQ. Confirm workplace and destination requirements independently.
Guide 01 - Task-first buying
Start with the Work Task before Comparing Apron Materials
The buying process begins with liquid contact, body zone and work sequence.
Exposure description
Describe the source and direction
Checklist step 1 examines where splash or contact originates. Before accepting a catalog label, document liquid, temperature, height, direction, frequency and duration.
Avoid the shortcut using one waterproof claim for every liquid and contact mode. The next controlled action is a buyer task map plus applicable safety-data-sheet direction.
Coverage description
Mark the body zones and open gaps
Checklist step 2 examines what must be covered and what remains outside the garment. Before accepting a catalog label, document standing, seated, bent and reaching positions with adjacent PPE.
Avoid the shortcut reading a front-view photograph as complete protection. The next controlled action is an annotated wearer diagram and excluded-zone note.
Responsibility description
Decide who owns each requirement
Checklist step 3 examines workplace assessment, garment proposal and evidence review. Before accepting a catalog label, document buyer, supplier, laboratory, trainer and destination authority roles.
Avoid the shortcut outsourcing hazard decisions to product marketing. The next controlled action is a decision-owner table and approved claim boundary.
Guide 02 - Form comparison
Compare Bib Aprons, Sleeve Smocks and Capes by Interface Risk
Silhouettes with similar materials can create very different coverage and removal routes.
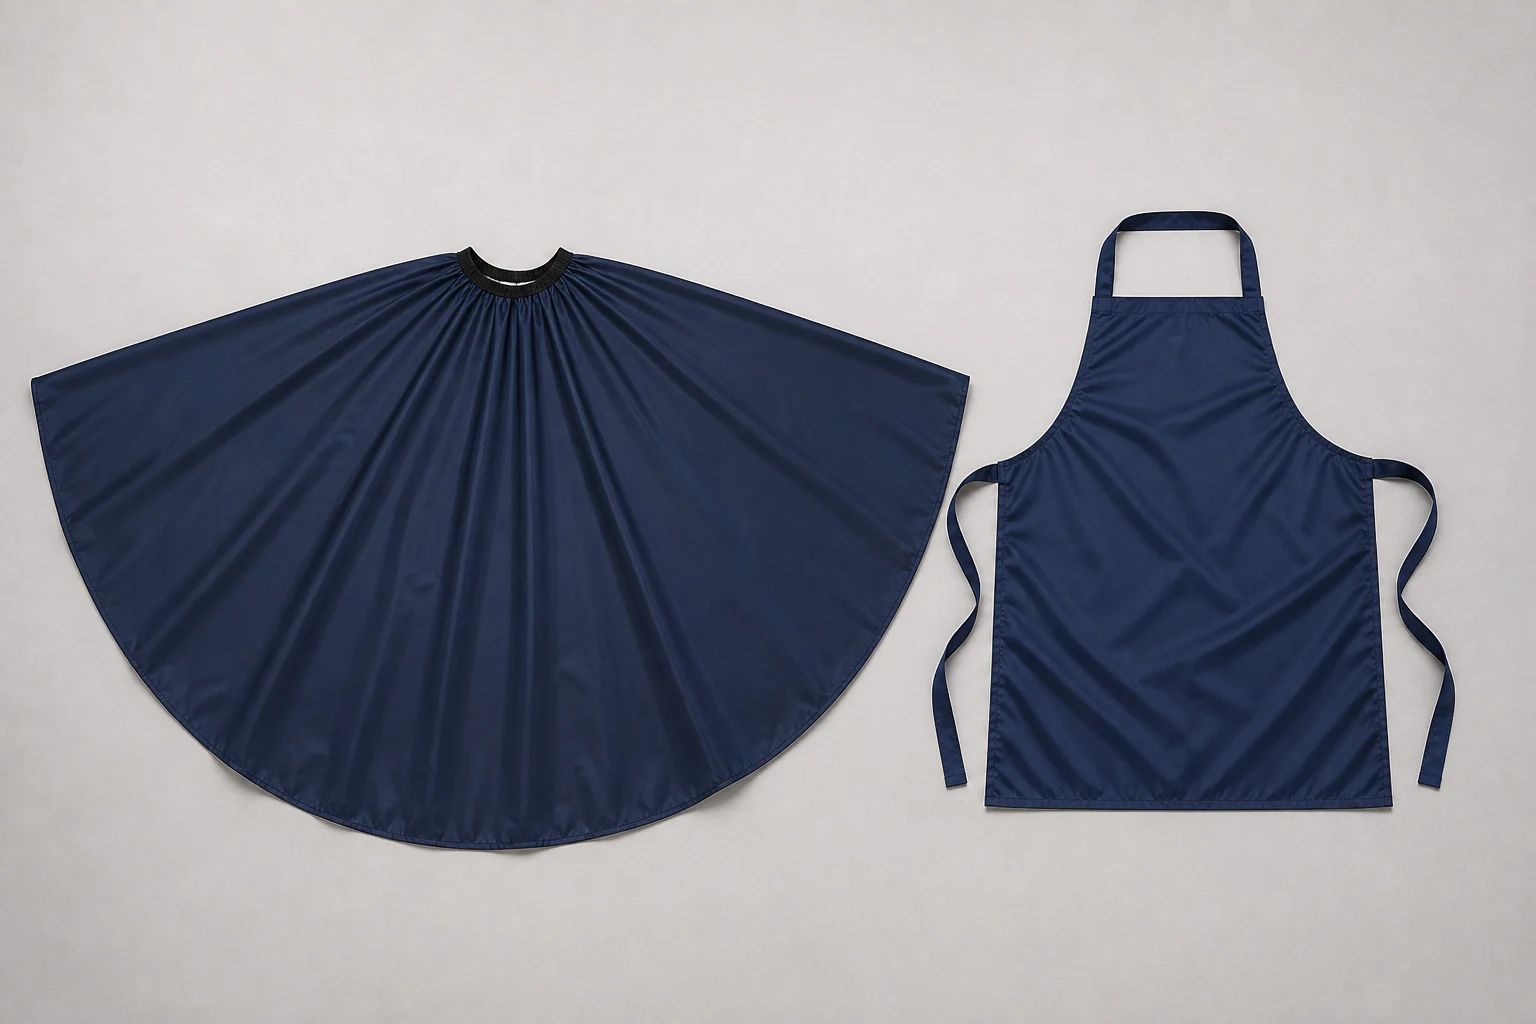
Bib assessment
Compare frontal bib coverage
Checklist step 4 examines front panel, side gap, neck and waist support. Before accepting a catalog label, document dimensions, seated posture, tie route, tools and runoff.
Avoid the shortcut calling an open-back bib full-body protection. The next controlled action is a worn-dimension comparison and task observation.
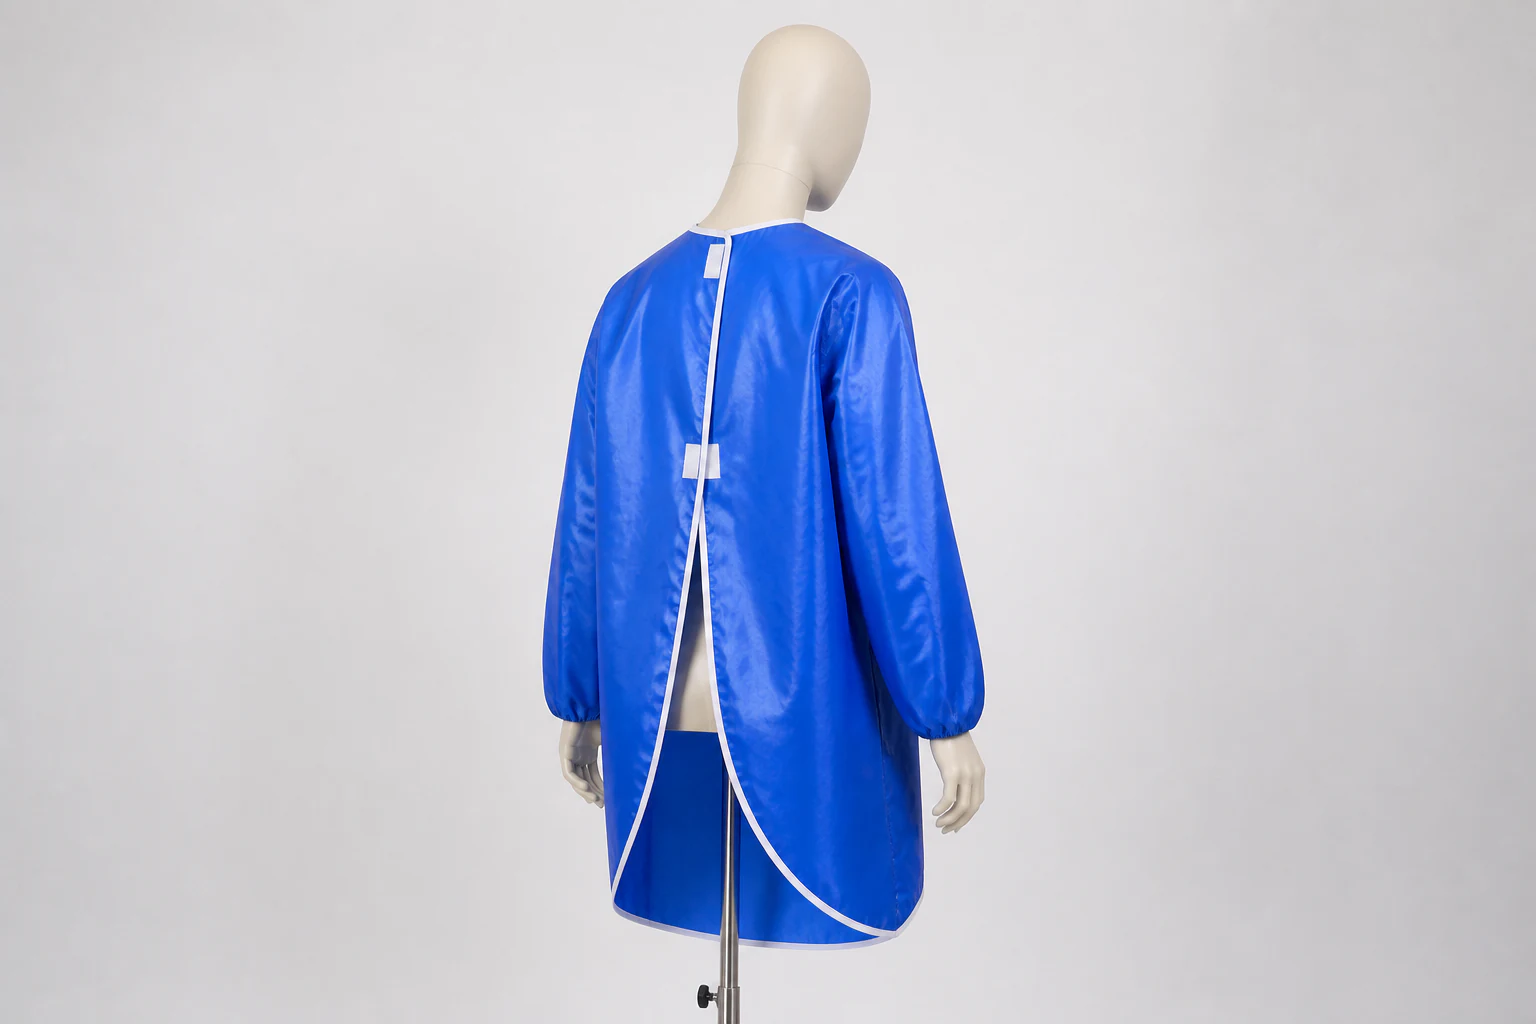
Smock assessment
Compare sleeved smock coverage
Checklist step 5 examines arm, shoulder, cuff and back-opening behavior. Before accepting a catalog label, document reach, glove overlap, heat burden and doffing.
Avoid the shortcut adding sleeves without checking the ensemble interfaces. The next controlled action is a motion-and-overlap trial with named PPE.
Cape assessment
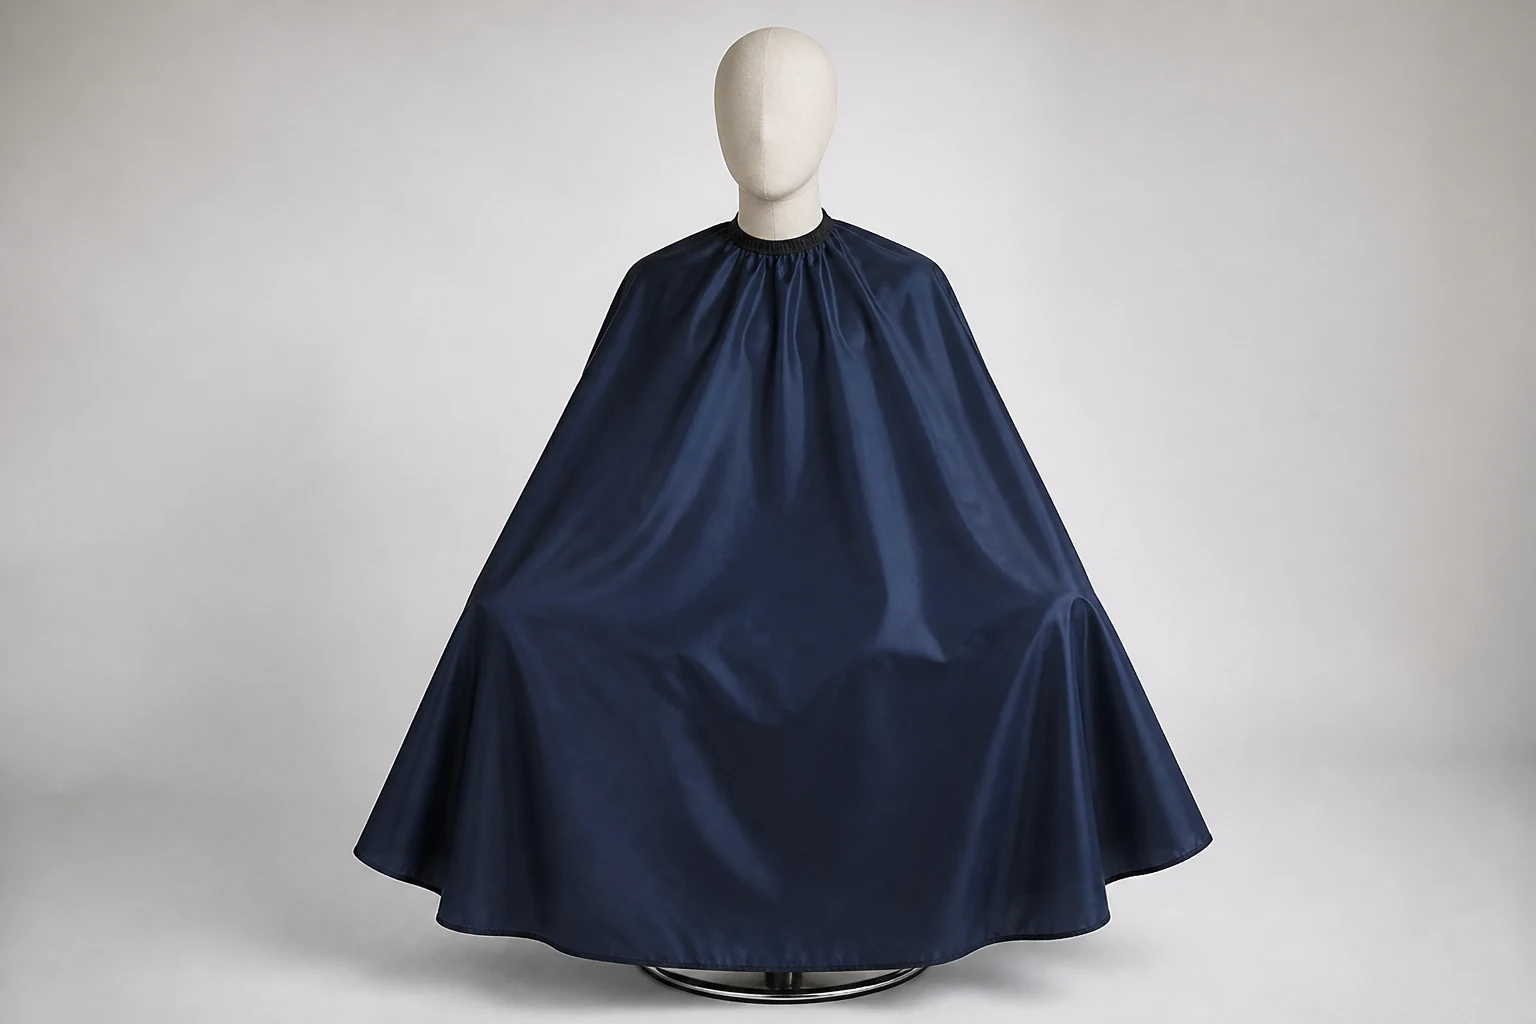
Compare cape drape and access
Checklist step 6 examines neck closure, circumference, hand exit and furniture interaction. Before accepting a catalog label, document turning, reaching, chair, equipment and removal.
Avoid the shortcut assuming a salon, visitor and industrial cape are equivalent. The next controlled action is a cape-specific pattern and use statement.
Guide 03 - Evidence language
Separate Material Penetration, Permeation and Garment Spray Results
Different methods answer different questions and cover different specimens.
| Observation | Capture first | Inspect next | Do not conclude |
|---|---|---|---|
| Liquid at wrist | Glove, cuff, arm posture, splash direction | Overlap and sleeve ride | The whole material failed |
| Neck pressure | Garment mass, strap width, wear time | Adjustment and suspension route | A larger bib solves every fit issue |
| Surface change after cleaning | Chemistry, concentration, temperature, cycles | Coating, print, joins, care instruction | All reusable units behave the same |
Scope reading
Read the specimen before the result
Checklist step 7 examines material, seam or complete garment identity. Before accepting a catalog label, document report date, method, challenge, conditioning and product code.
Avoid the shortcut using a supplier-material result for every finished SKU. The next controlled action is a scope note attached to the exact bill of materials.
Exposure reading
Keep continuous contact distinct from splash
Checklist step 8 examines permeation versus penetration or spray scenarios. Before accepting a catalog label, document liquid, contact mode, duration, detection and acceptance.
Avoid the shortcut presenting one test category as universal chemical protection. The next controlled action is a buyer-named requirement and method-specific report.
Standard reading
Treat general clothing standards as a framework
Checklist step 9 examines ergonomics, sizing, ageing, marking and information. Before accepting a catalog label, document which product-specific standard is also required for the claim.
Avoid the shortcut claiming ISO 13688 alone certifies a protective performance. The next controlled action is a standards matrix reviewed for the destination and task.
Guide 04 - Fit and interfaces
Evaluate Fit while the Wearer Uses Gloves, Tools and Adjacent PPE
Static garment dimensions do not reveal overlap, snag or access failures.
Ensemble record
Record the complete layer set
Checklist step 10 examines clothing, gloves, sleeves, footwear and face protection. Before accepting a catalog label, document product identities, sizes, overlap order and task posture.
Avoid the shortcut approving the garment without the equipment worn beside it. The next controlled action is an ensemble photograph set and interface map.
Movement record
Use critical motion sequences
Checklist step 11 examines reach, bend, turn, sit and removal. Before accepting a catalog label, document wearer dimensions, task, duration and observed garment shift.
Avoid the shortcut using one relaxed standing pose as ergonomic evidence. The next controlled action is a repeatable motion checklist and correction log.
Size record
Challenge range ends
Checklist step 12 examines smallest and largest intended wearers. Before accepting a catalog label, document coverage, closure range, sleeve, neck and grade behavior.
Avoid the shortcut publishing one-size language without a body range. The next controlled action is end-size samples and supported-range table.
Guide 05 - Care and reuse
Match Cleaning and Replacement Decisions to the Exact Material Stack
Care guidance can change coating, joins, print and wearer-side condition.
Care review
Verify the intended cleaning route
Checklist step 13 examines chemistry, concentration, temperature, action and drying. Before accepting a catalog label, document buyer method, material compatibility and number of cycles.
Avoid the shortcut copying generic washing advice from another coated product. The next controlled action is a product-specific validated instruction.
Service review
Create an after-use inspection
Checklist step 14 examines cuts, coating change, join damage, closures and contamination. Before accepting a catalog label, document inspection owner, accept, quarantine, repair or replacement.
Avoid the shortcut returning a visibly compromised unit to work. The next controlled action is a concise inspection card and disposition record.
Storage review
Control wet storage and contaminated handling
Checklist step 15 examines drying, separation, folding and issue readiness. Before accepting a catalog label, document location, container, ventilation, label and maximum hold rule.
Avoid the shortcut sealing wet garments without an approved route. The next controlled action is a workplace handling instruction and pack trial.
Guide 06 - Sample ladder
Ask Each Sample to Close the Right Buyer Question
Material reports, coupons and garments are complementary rather than interchangeable.
Swatch question
Use swatches for identity and hand
Checklist step 16 examines face, reverse, colour, layer stack and declared values. Before accepting a catalog label, document supplier code, lot, method and approved comparison.
Avoid the shortcut treating a swatch as proof of body coverage. The next controlled action is a sealed reference and attribute table.
Coupon question
Use coupons for construction compatibility
Checklist step 17 examines join, reinforcement, print and cleaning interaction. Before accepting a catalog label, document materials, settings, cycles and change triggers.
Avoid the shortcut using a straight coupon for every garment junction. The next controlled action is a family of production-like interface coupons.
Garment question
Use garments for task and release decisions
Checklist step 18 examines coverage, motion, closures, marking and pack. Before accepting a catalog label, document pattern revision, size, ensemble, task and approver.
Avoid the shortcut calling the first prototype the bulk standard. The next controlled action is a pre-production dossier with closed and open items.
Guide 07 - Quote normalization
Compare Suppliers against One Task, Garment and Evidence Baseline
A lower number can hide a different coverage route, material or omitted evidence.
Baseline object
Lock the product object before comparison
Checklist step 19 examines task, architecture, material, closures, size and packing basis. Before accepting a catalog label, document required, proposed and open decisions by SKU.
Avoid the shortcut comparing a disposable bib with a reusable sleeve smock. The next controlled action is a revision-controlled RFQ and response table.
Response control
Collect deviations and exclusions
Checklist step 20 examines alternatives, missing tasks and assumptions. Before accepting a catalog label, document technical effect, evidence effect, cost and buyer decision.
Avoid the shortcut assuming silence means full specification acceptance. The next controlled action is a signed departure schedule.
Commercial control
Normalize lot splits and approval workload
Checklist step 21 examines sizes, colours, artwork, samples, tests and destinations. Before accepting a catalog label, document quantity basis, tooling, validity, buyer inputs and timing.
Avoid the shortcut choosing the headline price before matching included work. The next controlled action is a cost-driver comparison and responsibility list.
Guide 08 - Buyer file
Preserve the Accepted Apron or Cape through Bulk and Reorders
The approved task boundary, construction and evidence must travel together.
Document set
Index the current specifications
Checklist step 22 examines task map, BOM, pattern, measurements, labels and pack specification. Before accepting a catalog label, document revision, owner, approval date and linked evidence.
Avoid the shortcut keeping only a purchase order and product photo. The next controlled action is a connected release index and retained references.
Release set
Attach bulk results to the lot
Checklist step 23 examines incoming, process, final and carton findings. Before accepting a catalog label, document identified shipment, checked quantity, issue class, resolution and authorizer.
Avoid the shortcut using one past inspection to represent every later shipment. The next controlled action is a shipment-specific release package.
Continuity set
Require review before substitution
Checklist step 24 examines material, join, closure, artwork, care and pack changes. Before accepting a catalog label, document reason, comparison, affected trials and notification timing.
Avoid the shortcut accepting a visual match after unannounced source change. The next controlled action is a formal change request and reapproval decision.
Partial-coverage sourcing FAQ
Buyer Questions for Matching Coverage and Evidence
Should apron selection start with material or task?
Start with the task, liquid contact, body zones, duration, posture and other PPE. Then select a material and garment architecture that can be evaluated against that defined use.
What is the difference between penetration and permeation?
Penetration concerns passage through openings or imperfections at a non-molecular level, while permeation concerns molecular passage through material. Test methods, specimens and exposure modes must match the intended claim.
Does ISO 13688 certify an apron for a specific hazard?
No. ISO 13688 provides general protective-clothing requirements and is intended for use with standards that contain specific protective-performance requirements.
Why must gloves and cuffs be reviewed together?
Overlap direction, sleeve ride, wrist movement, splash direction and removal order can create or close gaps. A material result does not establish the assembled interface.
How should reusable apron samples be approved?
Approve material and joining coupons, then test coverage, closures and interfaces in the task. Validate the care route and inspect packed pre-production samples before bulk release.
Which records make supplier quotes comparable?
Use one task map, architecture, material, size, closure, evidence, care, marking, pack and assortment baseline. Collect departures, exclusions, validity and change rules from each source.