
RUBBER BOOT BUYER INVESTIGATION
Rubber Rain Boots Buying Guide for Importers
Published by EverBen
Compare rubber footwear suppliers without confusing material tradition, tread appearance or product name with verified performance.
This rubber-footwear workflow traces buyer observations back to compound, joins, fit and curing.
- Whole-pair observations lead the comparison
- Four investigations pair complete native-resolution views
- Repeat orders use explicit change triggers
Rubber buyer evidence map
How to use this rubber rain boot sourcing workflow
Nine buyer investigations separate construction identity, wearer fit, process symptoms and commercial scope.
Start with lot, pair, size and exposure history
Preserve the actual object before diagnosing separation, cracking, discomfort or traction concerns.
Use material and whole-footwear evidence separately
Compound, adhesion, upper water resistance and wearer use remain independent decision lanes.
Importer guide 01
Begin with the task rather than rubber terminology
The same material label can cover very different boot architectures and uses.
Buyer step 01
Write the exposure map
Write the actual exposure before comparing materials: wearer, duration, standing water, mud, floor, contaminants and temperature. Mark any workplace or chemical hazards as unresolved requirements; a supplier may then propose the correct route without the buyer implying that ordinary rubber footwear is protective.
Translate the exposure record into observable trial events rather than adjectives. For example, state how often the wearer enters pooled water, whether the shaft contacts vegetation, and when the pair is cleaned. The supplier can then identify which sample configuration should be evaluated first and which conditions remain outside approval.
Buyer step 02
Name the wearer and duration
Record who wears the boot, intended socks, walking time, entry frequency and calf coverage. These observations turn a general comfort request into a trial plan and prevent a short garden style from being judged against a long-shaft work task.
Build the wearer panel around actual foot and calf measurements instead of nominal job titles. Include at least one person near each critical dimension, photograph the selected sock system, and schedule checkpoints after donning, continuous walking and removal. This exposes entry and retention issues before a bulk size split is fixed.
Buyer step 03
List excluded hazards
List hazards and claims that the current project does not cover, including toe, puncture, electrical, chemical or slip categories without exact evidence. Put excluded language in the buying brief so a catalogue description cannot silently expand the represented use.
Place unresolved hazards in a separate column with an owner and required decision date. If protective footwear is necessary, request the applicable criteria, construction identity, markings and current supporting records for that exact proposal. Until those items align, describe the candidate only as ordinary wet-environment footwear.
Importer guide 02
Compare constructions with cut sections and records
A surface photograph cannot reveal layers, reinforcement or sole attachment.
Buyer step 04
Request a construction map
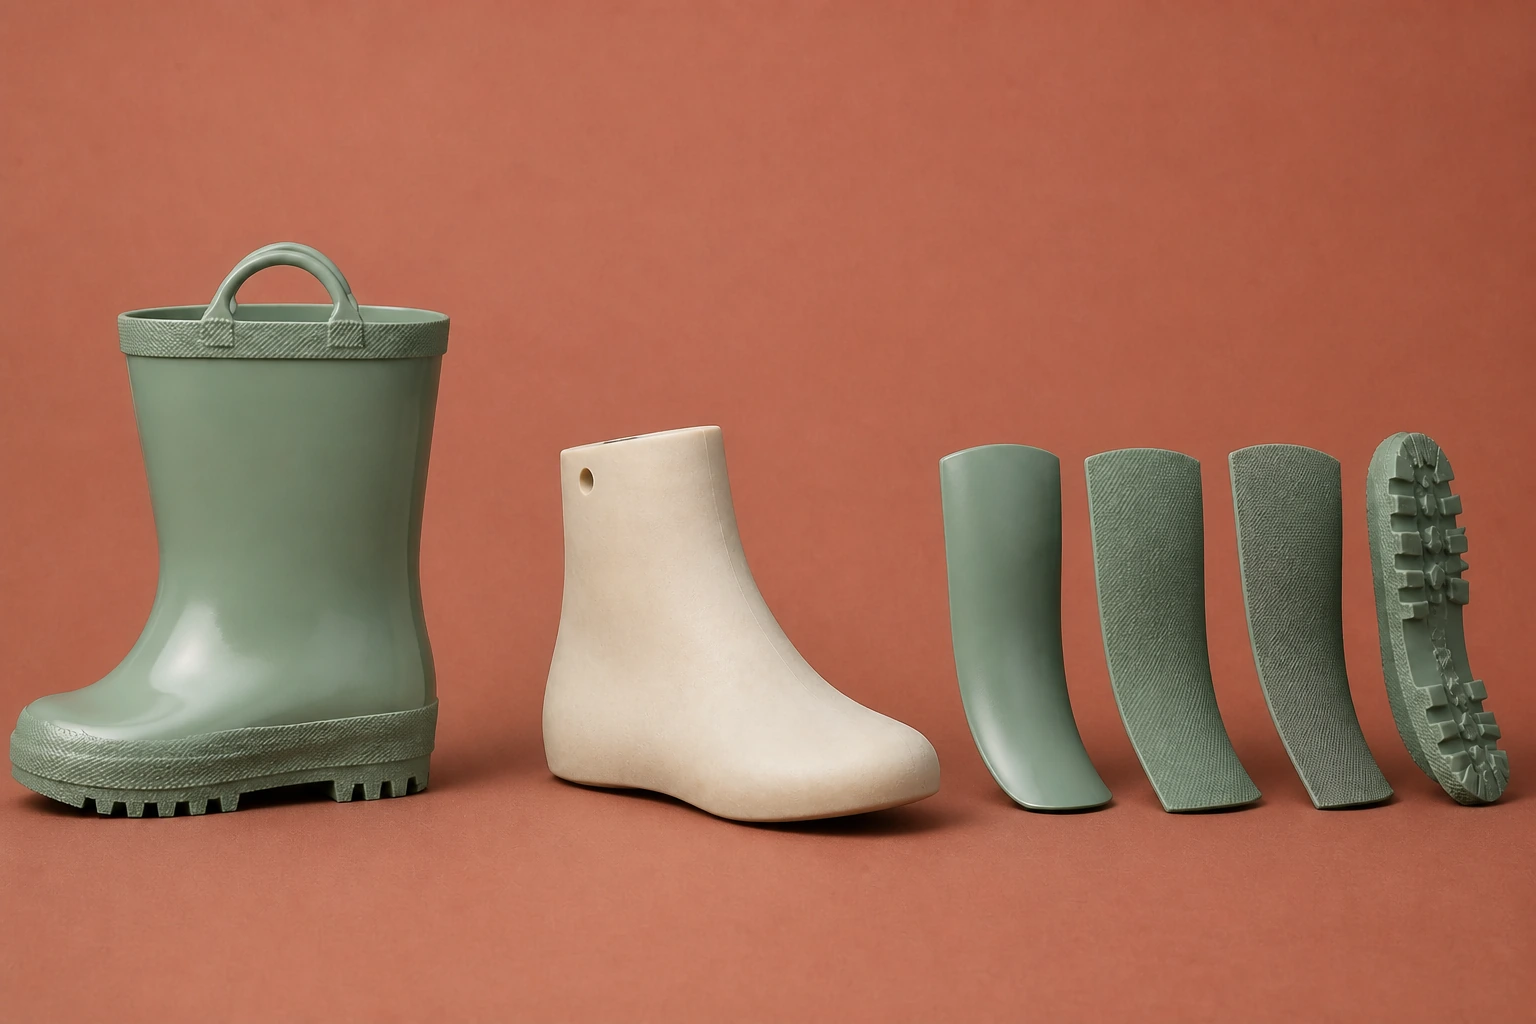
Ask for a construction map identifying upper layers, reinforcements, foxing, sole, lining and joined interfaces. Compare that map with a cut section and complete retained pair; a surface photograph alone cannot prove what lies below the outer rubber.
Number every layer on the drawing and match those numbers to physical coupons laid beside the intact pair. Add thickness, colour and supplier reference where known, but leave uncertain values visibly open. This arrangement helps a reviewer detect a substituted reinforcement or missing interface before destructive sampling begins.
Buyer step 05
Inspect interface samples
Inspect prepared interface specimens beside the finished boot and note where surfaces are roughened, cemented, pressed or cured. Keep the method tied to the sampled architecture, because adhesion observations from one join route do not authorize another.
For each joining operation, photograph the prepared surface, assembled boundary and cured result under the same sample code. Capture dwell time or process window only when the factory provides it as controlled information. The resulting sequence supports a focused question without pretending that a visual inspection establishes bond strength.
Buyer step 06
Retain the accepted pair
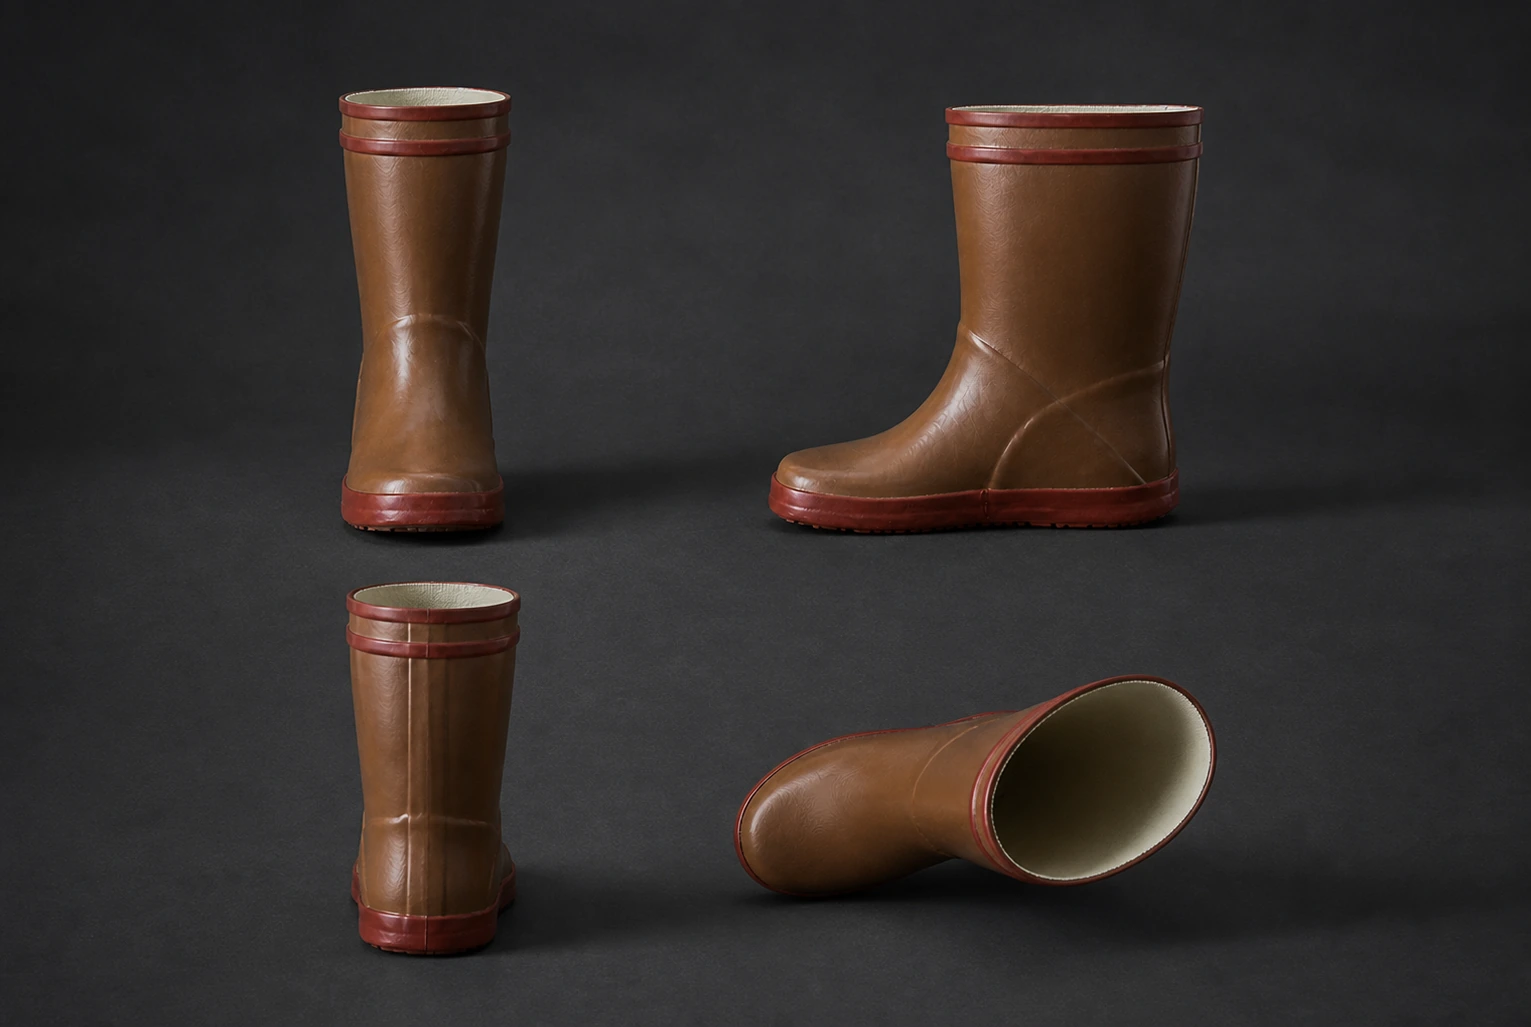
Seal one coded pair after construction approval and photograph its profile, interior and outsole. Future comparisons should name every changed layer or operation rather than treating a visually similar boot as the same production object.
The sealed master should carry a tamper-evident identifier, approval date and cross-reference to the construction drawing. Store it away from heat, ozone and distortion, then record its condition at retrieval. A comparison is useful only when the reference itself has not changed during storage.
Importer guide 03
Diagnose fit through last and size-set data
Length complaints may come from toe shape, instep, heel or lining allowance.
Buyer step 07
Measure foot and boot
Measure the wearer’s foot length, width and instep, then record boot internal length, opening and chosen socks. A complaint described only as small or loose cannot reveal whether the last, lining allowance, heel hold or size selection caused it.
Use a consistent measuring protocol and record the tool, datum points and operator. Foot length alone may select a nominal size while instep or opening blocks entry, so retain the complete measurement set with the trial notes. A later complaint can then be traced to selection, grading or construction allowance.
Buyer step 08
Compare end sizes
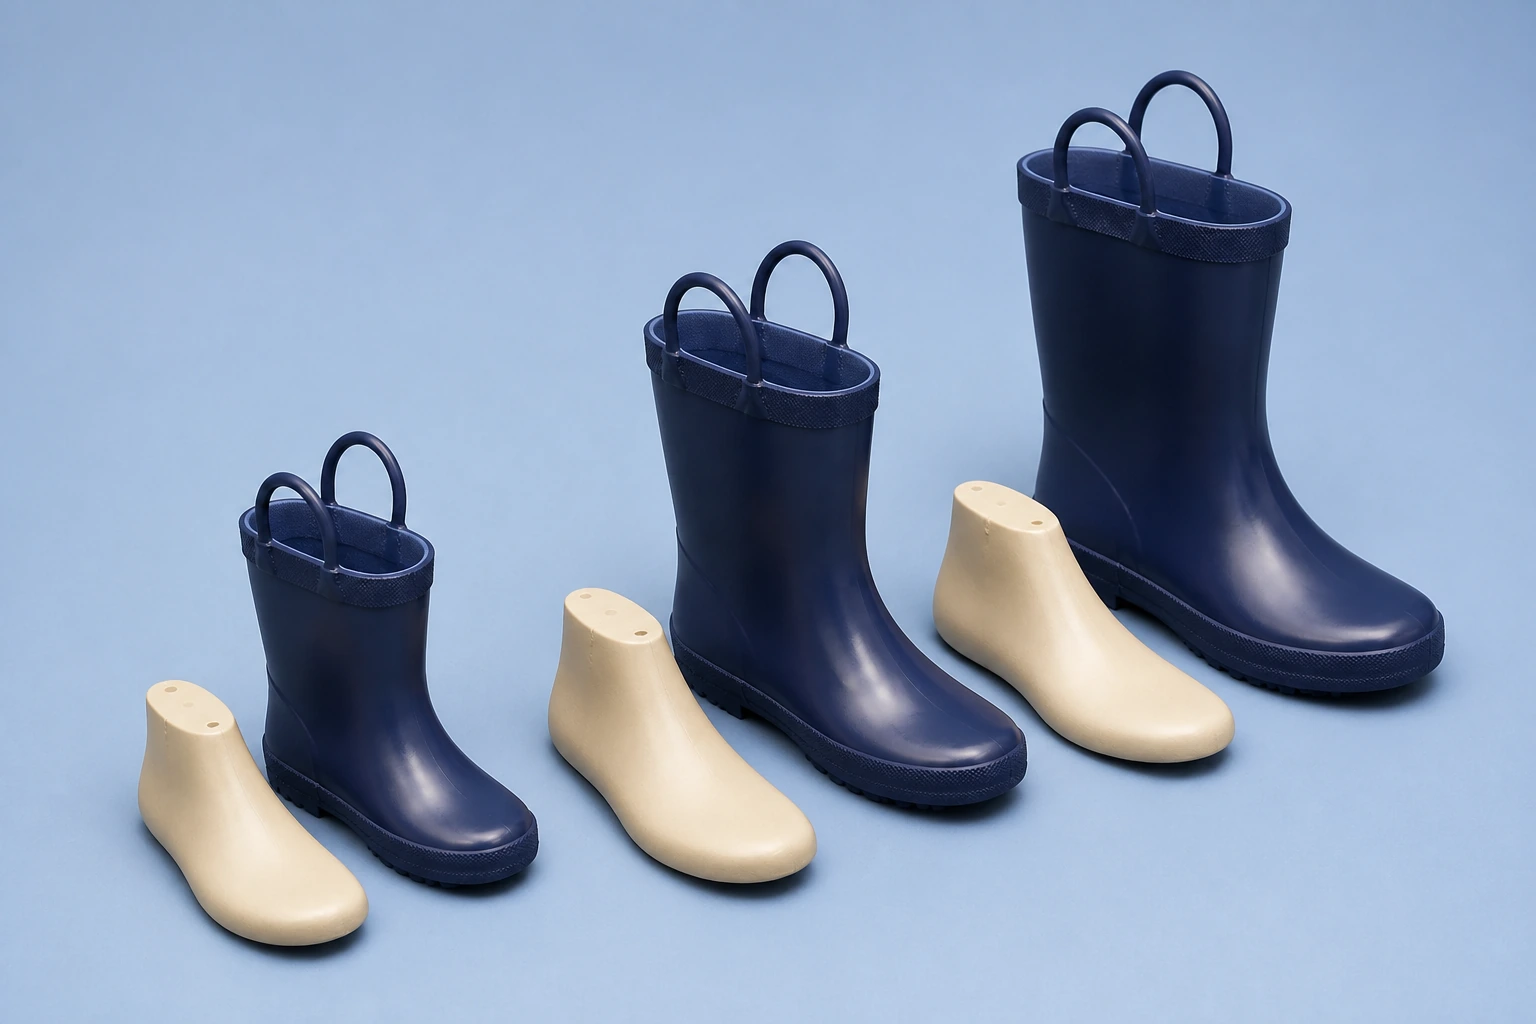
Review the smallest and largest proposed sizes on their own lasts and finished pairs. Check toe room, instep, heel, ankle transition, calf opening and shaft height; proportional grading may preserve length while distorting entry or leg volume.
Plot key dimensions across the complete proposed run, not merely the two photographed endpoints. Sudden jumps can reveal a mold-family transition or an inconsistent grading rule. Ask the supplier to explain those transitions and verify them on physical pairs before approving a commercial assortment.
Buyer step 09
Record sock and lining
Link every fit comment to size, sock, liner, wear duration and exact pressure location. Preserve the unmodified pair before requesting tooling changes so an adjustment to the last is not used to solve a removable-liner or closure problem.
When a wearer reports discomfort, mark the location on a boot diagram and capture the time when it begins. Compare left and right feet, sock compression and liner placement before altering the last. This separates persistent geometry pressure from a twisted removable component or incorrect size choice.
Importer guide 04
Review tread claims in the intended condition
Outsole appearance must not substitute for method and surface-specific evidence.
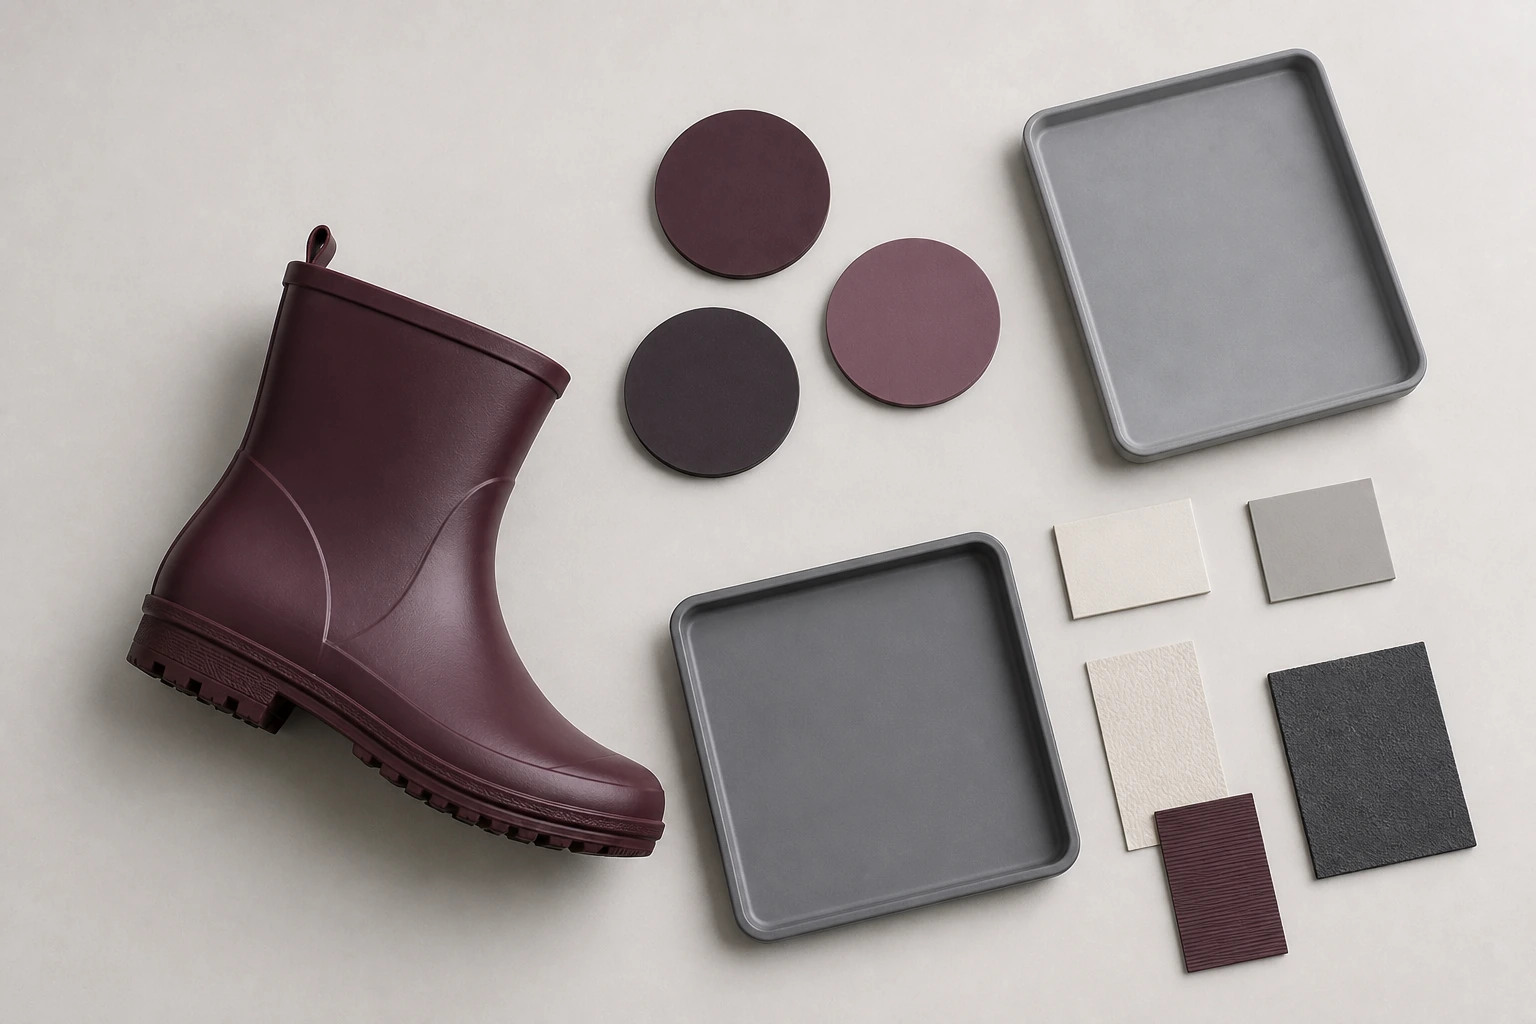
Buyer step 10
Name the walking surface
Name the walking surface, slope, water, soil or contaminant before asking about outsole behavior. The same tread may clear mud yet behave differently on a smooth wet floor, so the intended condition belongs in the evidence request.
Create a surface schedule naming substrate, texture, slope, drainage, cleaning regime and likely debris. Then assign each location a decision priority. This prevents a single laboratory observation from being treated as an answer for yards, smooth interiors and muddy ground that present materially different contact conditions.
Buyer step 11
Define contamination
Describe contamination with its actual material, concentration and maintenance state instead of using a broad wet-use label. This boundary keeps a supplier test result from being extended to surfaces or fluids that were never represented.
Collect representative condition information without bringing unknown hazardous substances into an uncontrolled trial. Photographs, maintenance records and facility descriptions can narrow the requirement before a qualified test route is selected. Safety and legal owners should approve any exposure protocol involving regulated or corrosive materials.
Buyer step 12
Read current test scope
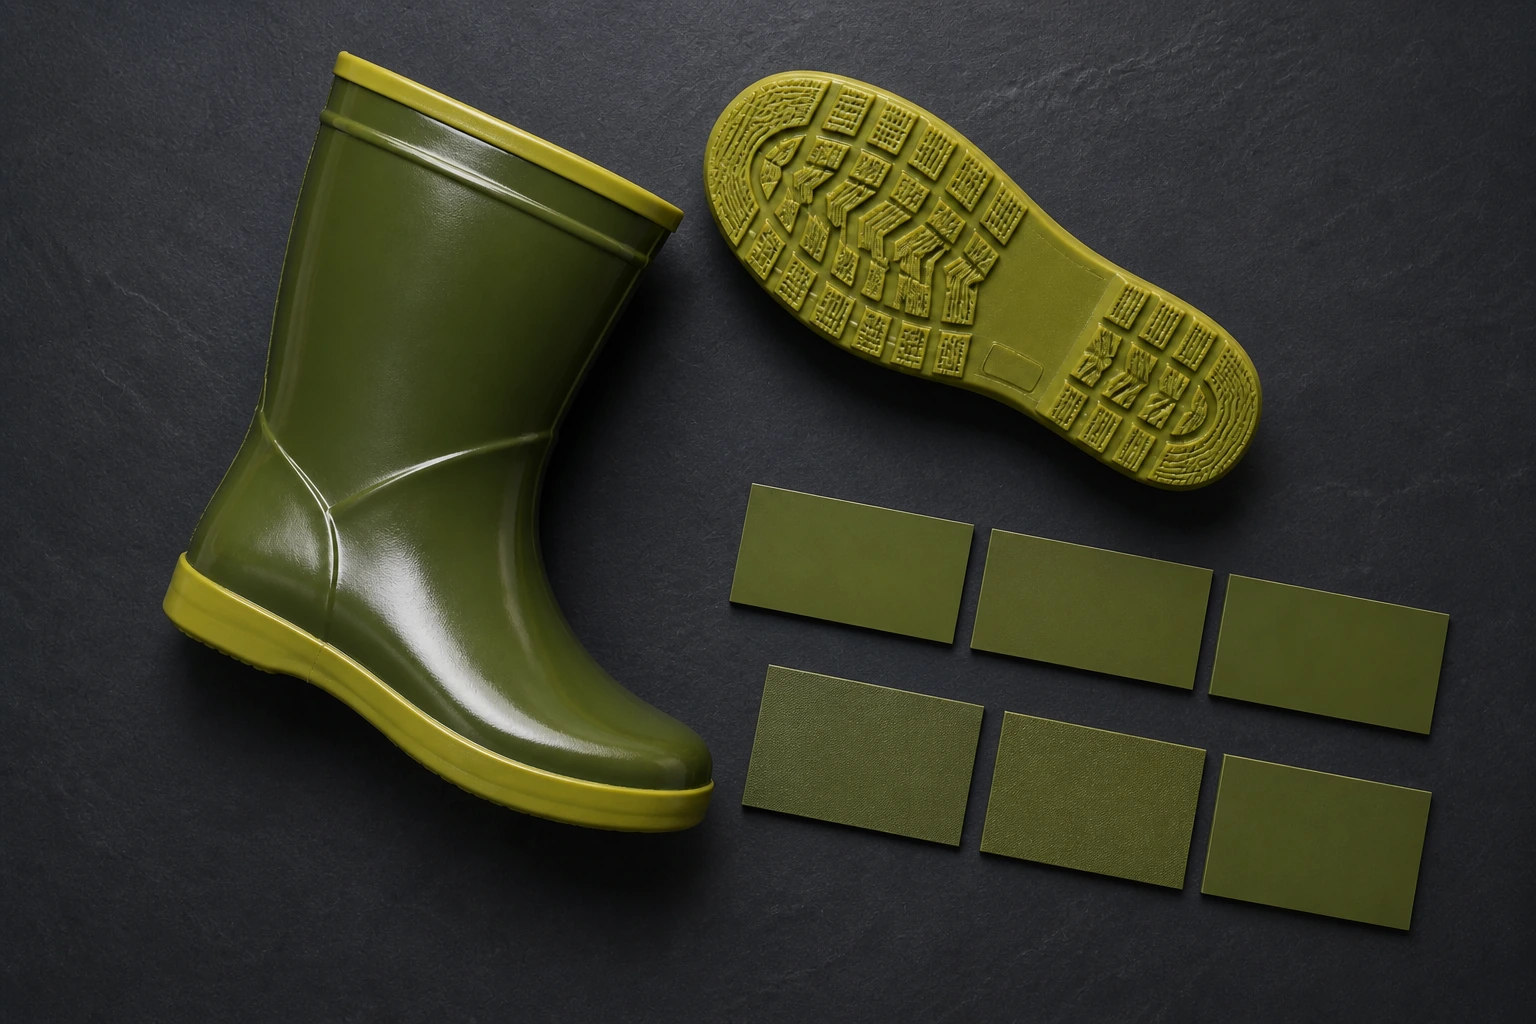
Read any current traction result with the exact whole boot, size, surface, condition and method. Treat lug geometry as identification evidence only; do not rank suppliers from product photographs or transfer a result between different compounds and constructions.
Request a complete report page that identifies footwear, outsole, preparation, surface, contaminant, method and date. Check whether the tested size and production status match the proposed order. If any identity field differs, record the result as background information rather than a release for the current boot.
Importer guide 05
Investigate bond and surface defects by process
Separation, bloom, cracks and finish variation need lot and condition evidence.
Buyer step 13
Map defect location
Mark separation, cracking, bloom or finish variation on a complete left-right pair and a close location view. Record lot, age, storage, use and flex history before assigning cause; similar symptoms can originate at different process stages.
Use a removable marker or annotated duplicate photograph to locate each symptom without modifying the evidence pair. Take overview, side and close views with a scale reference, then seal the boots individually. This preserves orientation and prevents contact between damaged surfaces during transport to the supplier.
Buyer step 14
Record age and storage
Preserve arrival condition and storage chronology, including heat, sunlight, stacking and packaging contact. A changed surface after months in storage does not by itself identify compound formulation, cure or finishing as the responsible input.
Record warehouse zone, carton position and the dates of receipt, opening and inspection. Compare affected pairs with untouched cartons from different stack levels when available. A distribution pattern can reveal whether the observation follows storage position, packing pressure or a particular manufacturing lot.
Buyer step 15
Trace cure and finishing
Request the supplier’s batch, preparation, cure and finishing records for the affected location, then compare a retained pair from the same lot. Close the finding only when the proposed process response explains the observed boundary and a corrected sample survives targeted review.
Ask the corrective response to name the suspected mechanism, supporting record, affected population and verification sample. The buyer should define an acceptance observation before the replacement is made. Otherwise a visually improved sample may close the discussion without testing the proposed process correction.
Importer guide 06
Separate cold comfort from material durability
Insulation, flexibility, traction and wearer comfort are different questions.
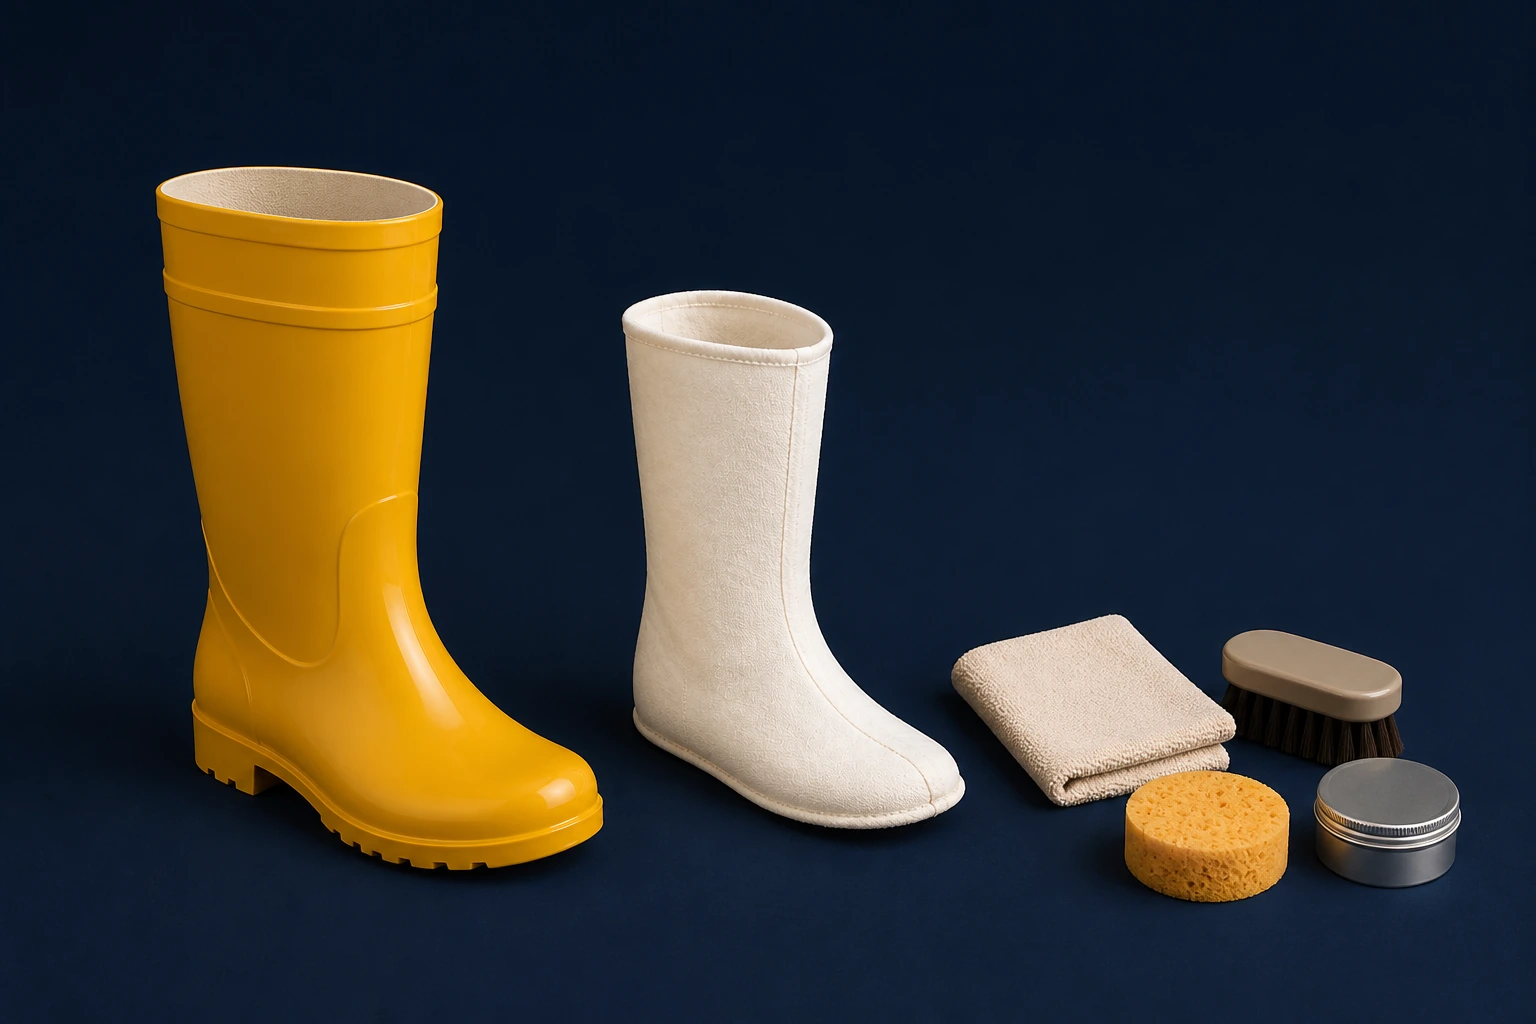

Buyer step 16
Condition complete samples
Condition complete boots at the declared temperature and record time before flex observation. Compound stiffness is only one lane; the wearer also experiences lining bulk, sock choice, sole behavior and reduced shaft movement.
Stabilize samples for the specified conditioning period and use a separate control pair kept at ordinary room conditions. Photograph both with identical lighting and bend position. The comparison shows which visible changes follow the chosen sequence while avoiding a broad claim about every cold environment.
Buyer step 17
Record flex observations
Photograph flex zones before and after the conditioning sequence without claiming a universal cold rating. Note cracks, whitening, recovery or no visible change for the represented pair, then keep the observation inside that temperature and method.
Choose flex locations that correspond to the boot architecture, such as vamp, ankle transition and shaft, and record cycle handling if applicable. Do not force a fold that a wearer would never create. Any change should be described neutrally and linked to the exact conditioned specimen.
Buyer step 18
Run wearer-specific trials
Run a wearer trial with the intended liner, socks, duration and activity after laboratory-style observations are recorded. Comfort feedback may inform the specification, but it cannot substitute for material durability, outsole or protective-footwear evidence.
Structure the wearer record around donning effort, movement restriction, pressure, warmth and moisture perception at timed intervals. Remove the boot and inspect sock or liner displacement separately. These notes guide configuration choices, yet they remain subjective observations rather than certification or universal temperature ratings.
Importer guide 07
Create a sample ladder for rubber boots
Compound pieces, development pairs, size sets and packed cartons answer different decisions.
Buyer step 19
Approve material first
Approve a declared compound piece for identity, colour and agreed material checks before relying on the assembled boot. The piece cannot close fit, interfaces or top entry, but it provides a retained reference when a later batch is questioned.
Label the compound coupon with batch, colour approval and storage date, then define which incoming checks compare against it. Keep the coupon flat and protected from contamination. When a later delivery differs, the buyer can open a material investigation without assuming that the finished footwear has already failed.
Buyer step 20
Release construction and fit
Use development pairs to release layer placement, joins, outsole attachment, finish and shaft geometry. Give every pair a revision code so a corrected construction is not compared with an undocumented earlier sample.
Development pairs should progress through named revisions with a short change summary attached to each one. Retain superseded versions until the final construction is signed, because they explain why a seam, foxing line or reinforcement moved. Destroying early evidence can erase the history needed for later troubleshooting.
Buyer step 21
Challenge transport packing
Review the size set and packed carton as later gates, not as substitutes for the material and development stages. End-size fit and transport recovery answer distinct questions and should produce their own signed records.
For the size-set gate, record dimensions and wearer outcomes by individual pair; for the packing gate, note assortment, support, closure and recovery time. Separate signatures make responsibility clear. One approval should not conceal an unresolved extreme size or a carton that deforms the shaft.
Importer guide 08
Normalize commercial comparisons
Tooling, construction, size range, lining, evidence and packing should be visible beside price.
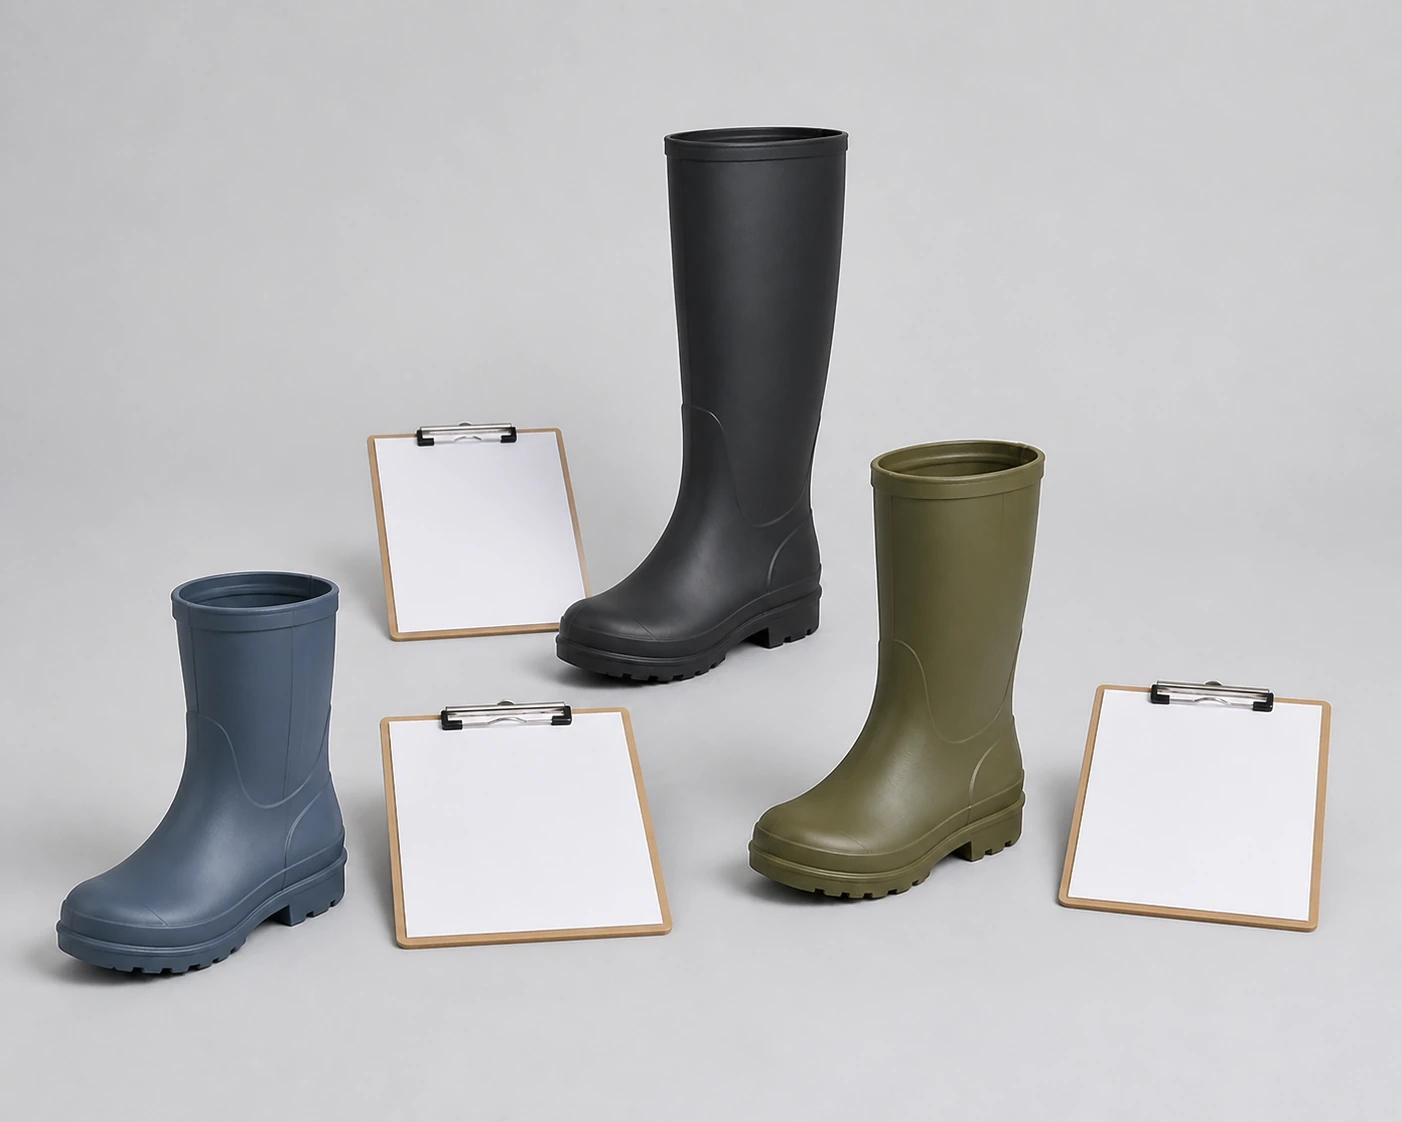
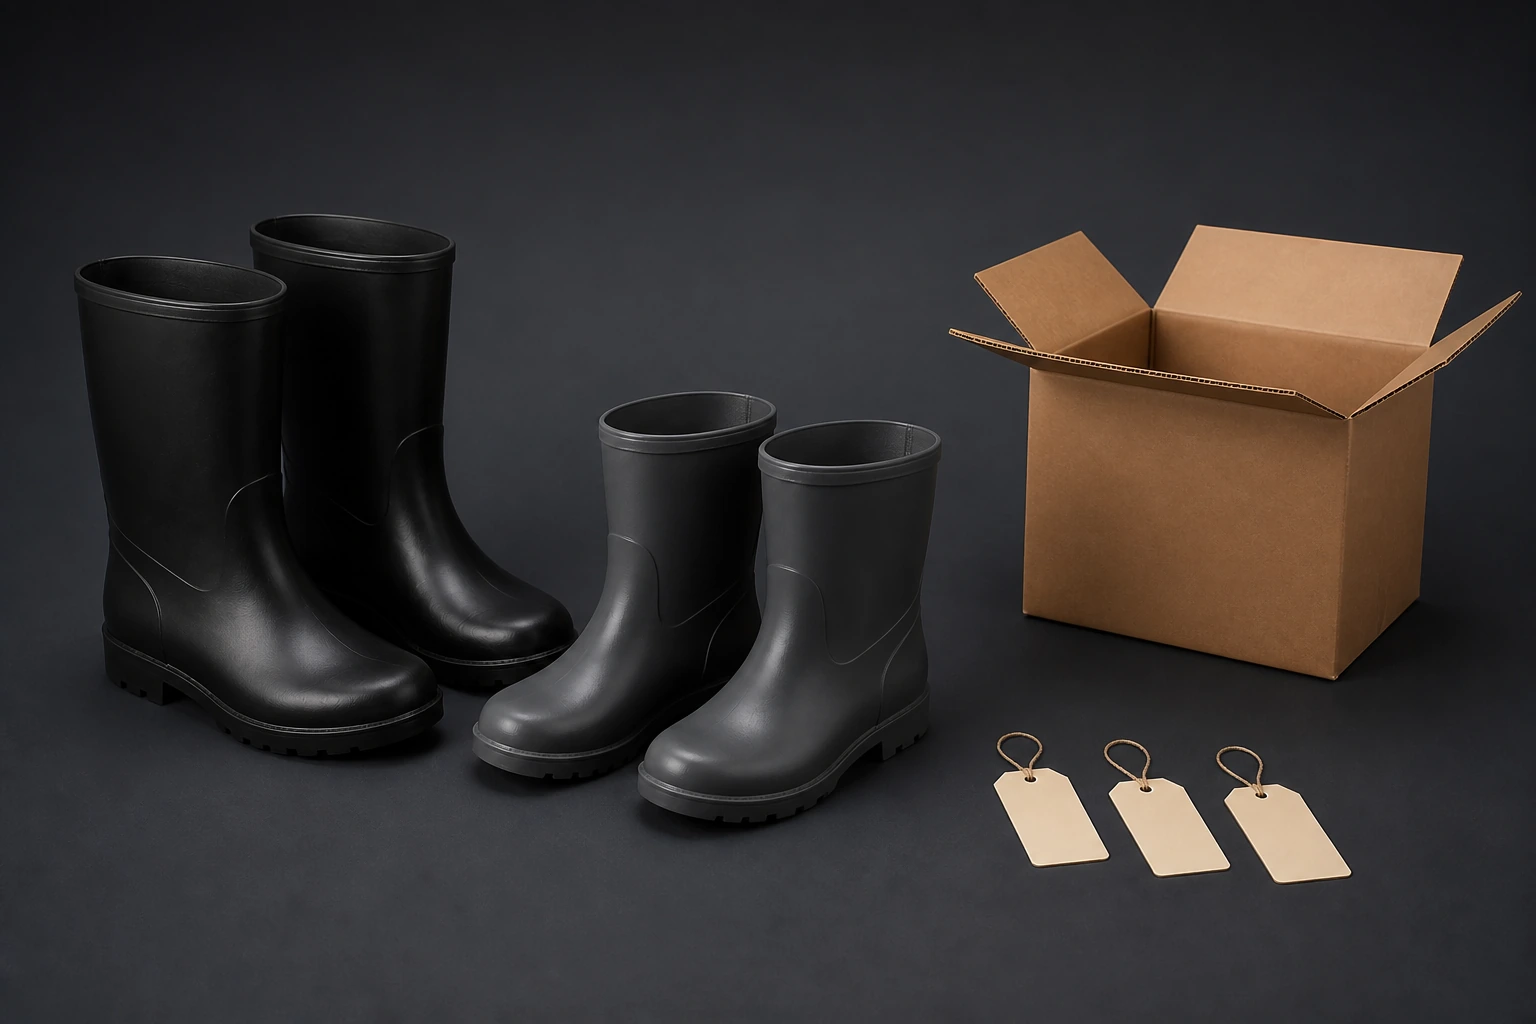
Importer research pointer: ISO 17708 addresses applicable upper-to-sole adhesion measurements, whereas ISO 17702 concerns flexed upper-material water penetration. Consult ISO 17708 and ISO 17702 without treating either title as a universal finished-boot target.
Buyer step 22
Send one baseline
Send one response sheet covering compound declaration, architecture, last, size range, lining, outsole, evidence tasks, tooling and packing. A common baseline exposes omissions that disappear when suppliers answer through unrelated catalogues.
Issue the comparison sheet with locked field names and units while allowing suppliers to mark information as proposed, confirmed or unavailable. Require supporting file references beside important claims. This format reveals where one quotation relies on an assumption and another includes a defined development task.
Buyer step 23
Collect departures
Require every proposed departure to show the affected sample, price line, lead-time consequence and approval needed. Do not let an alternative compound, join or liner enter the quote as an unexplained equivalent.
A departure log should state the reason, visual or functional consequence, affected quantity and deadline for buyer response. Give each item its own status rather than accepting a blanket alternative. The final purchase specification can then incorporate approved changes and reject the rest without ambiguity.
Buyer step 24
Compare included work
Compare commercial totals only after included development work, molds, tests, samples, packaging and quantity splits are visible. A lower unit price may represent a different evidence or construction scope rather than a like-for-like offer.
Rebuild each quote into the same landed-scope worksheet, separating tooling, sampling, validation, unit price, assortment, packing and freight assumptions. Record currency and validity date. Commercial comparison becomes meaningful only after hidden exclusions and different minimum allocations are made explicit.
Importer guide 09
Carry approvals into replenishment
Retained pairs and change triggers protect fit, compound and construction continuity.
Buyer step 25
Archive coded references
Archive the sealed pair, compound reference, construction map, size records, outsole identity and packed sample under one style revision. A reorder name by itself cannot show which physical objects governed the prior release.
Create a retention index showing storage location, revision, lot, size and photographs for every physical reference. Schedule periodic condition checks appropriate to the material and environment. If a master ages or deforms, replace it through a documented comparison instead of silently treating the altered object as authoritative.
Buyer step 26
Link lots to results
Link incoming and final inspection results to material and production lots so a future symptom can be traced without reopening every approved decision. Preserve photographs and measurements beside the shipment record, not only in email.
Inspection records should identify the measured characteristic, sample count, acceptance rule and disposition for each lot. Link any concession to the exact shipment quantity and approver. This history lets a reorder team distinguish a deliberate exception from the normal standard expected on future production.
Buyer step 27
Require advance notice
Require advance notice for source, formulation, layer, last, lining, outsole, cure, marking or pack changes. Route each notice to the affected approval gate and keep unaffected evidence current instead of restarting the whole program blindly.
The change-notice clause should specify minimum notice timing and the evidence expected for each change category. A new compound source may reopen material checks, while a carton adjustment may require only pack recovery review. This targeted routing protects continuity without creating unnecessary full-program repetition.
Buyer decision table
Rubber boot field-investigation map
Start with the actual pair and its history, then reopen only the material or construction lane affected by the finding.
| Investigation stage | Retained evidence | Boundary question | Close when |
|---|---|---|---|
| Index | Pair, lot, size and exposure history | Is the represented object known? | Identity is complete |
| Localize | Defect map and complete views | Which layer, join or fit zone is affected? | Location is reproducible |
| Compare | Retained pair and process response | Does the proposed cause fit the observed state? | Cause boundary is documented |
| Carry forward | Corrected sample and change notice | Which future change reopens review? | Reorder checkpoint is assigned |
rubber rain boot decision questions
Rubber sourcing questions for field investigation
How are rubber boot suppliers compared fairly?
Normalize compound, architecture, sizes, lining, outsole, curing, evidence tasks, tooling, quantity splits and packed assortment.
Why request a rubber boot construction map?
Visible surfaces cannot reveal layers, reinforcements or bonded interfaces; the map connects those elements to the retained pair.
What evidence helps diagnose rubber boot separation?
Record defect location, pair code, lot, age, storage, flex history and interface condition before assigning material or bonding cause.
How should cold-use observations be handled?
Separate compound flexibility, lining insulation, outsole behavior and wearer comfort, preserving the temperature and conditioned sample.
Which changes require renewed rubber-footwear review?
Reopen material, construction, fit, use or pack gates when their represented source, process, size or destination changes.
Rubber program handoff
Apply the rubber guide to a live sourcing decision
Send the rubber pair identity, field history, current specification and decision deadline.